
A frother that suddenly quits foaming feels like a small betrayal. One morning it’s turning your milk into a thick, glossy cloud, and the next it’s just spinning around in a cup of warm liquid with nothing to show for it.
Before you write the thing off as broken, know that most foam failures trace back to something simple, often something you can fix in the time it takes your coffee to cool.
Keep scrolling to figure out exactly why frothers quit working, what actually causes a milk frother not making foam, and the exact order to check things in so you’re not guessing your way through it.
Key Takeaways
- Foam depends on protein structure in milk, not just fat, so the type of milk you use changes your results more than most people expect.
- A weak magnetic pull inside the whisk mechanism is a highly overlooked reason a milk frother stops frothing, even when everything looks fine
- Cleaning residue off the whisk and jug solves a surprising number of foam complaints.
- Not every fix works. When a machine spins fine but leaves milk flat, you can take out the dairy from the equation because the hardware itself is done.
Why Is Your Milk Frother Not Making Foam?
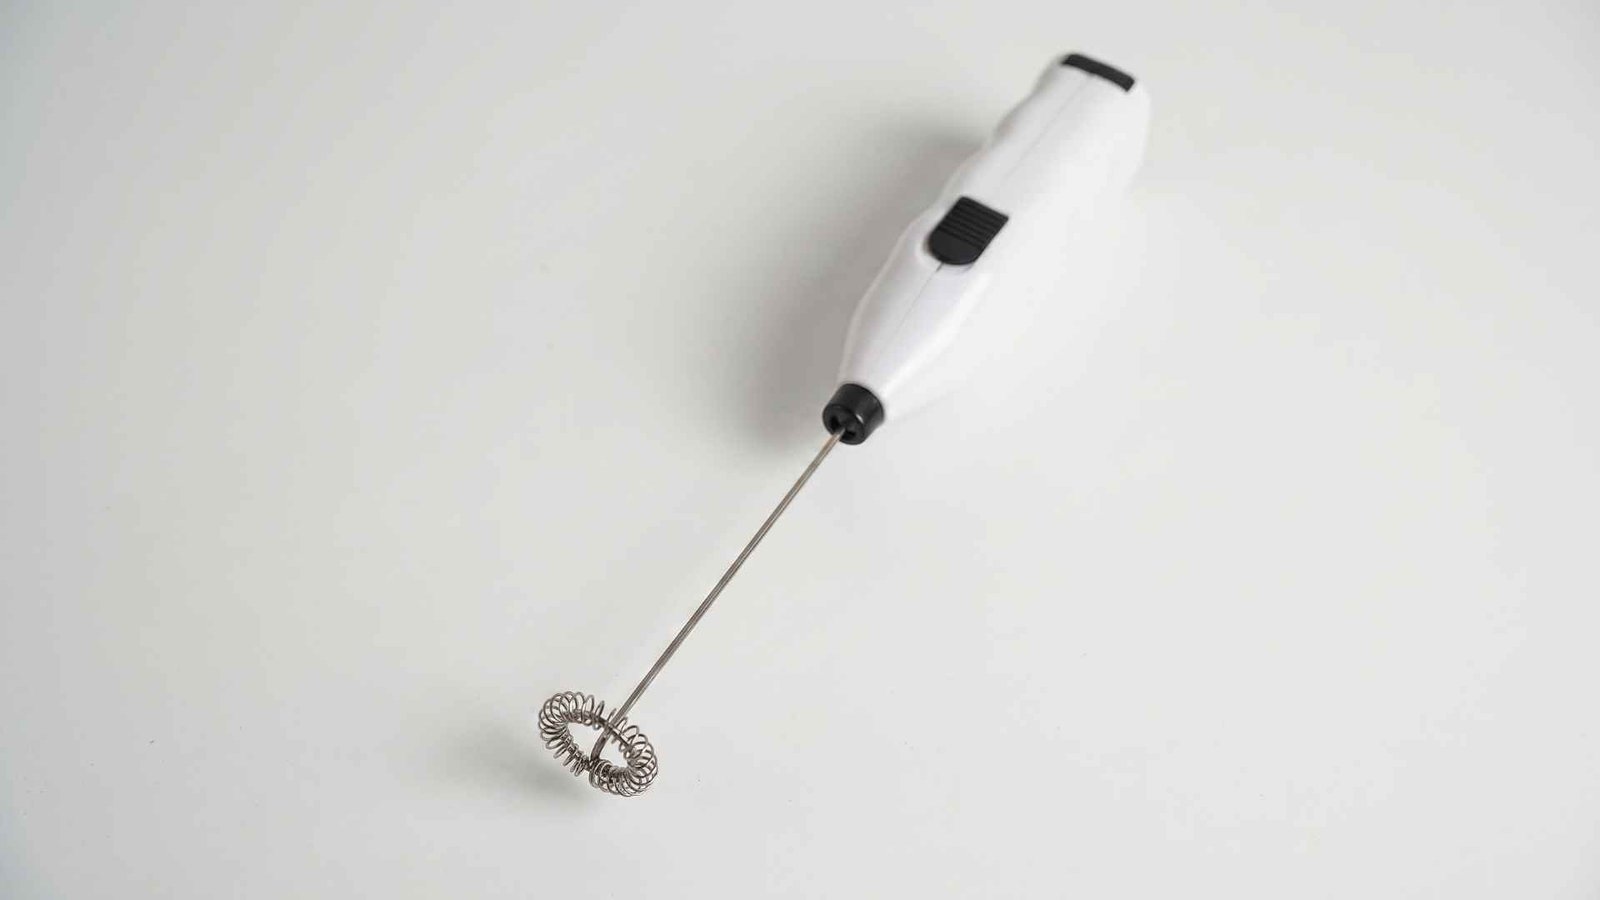
Foam forms when air gets whipped into milk proteins, mainly casein and whey, which trap the air and hold it in place as a stable structure. When that process fails, it is almost always one of a few things.
The whisk might not be seated right, the milk could be too cold or scalded past the point where proteins can hold air, or there is leftover milk residue coating the whisk and weakening its grip.
Sometimes the frother itself is the problem, either overheated from back to back use or dealing with a magnetic whisk that has lost strength over time. Working through these possibilities in order gets you to the cause, em, faster than randomly trying fixes.
How To Fix a Milk Frother That Stops Making Foam
Check Whether the Frothing Whisk Is Installed Correctly
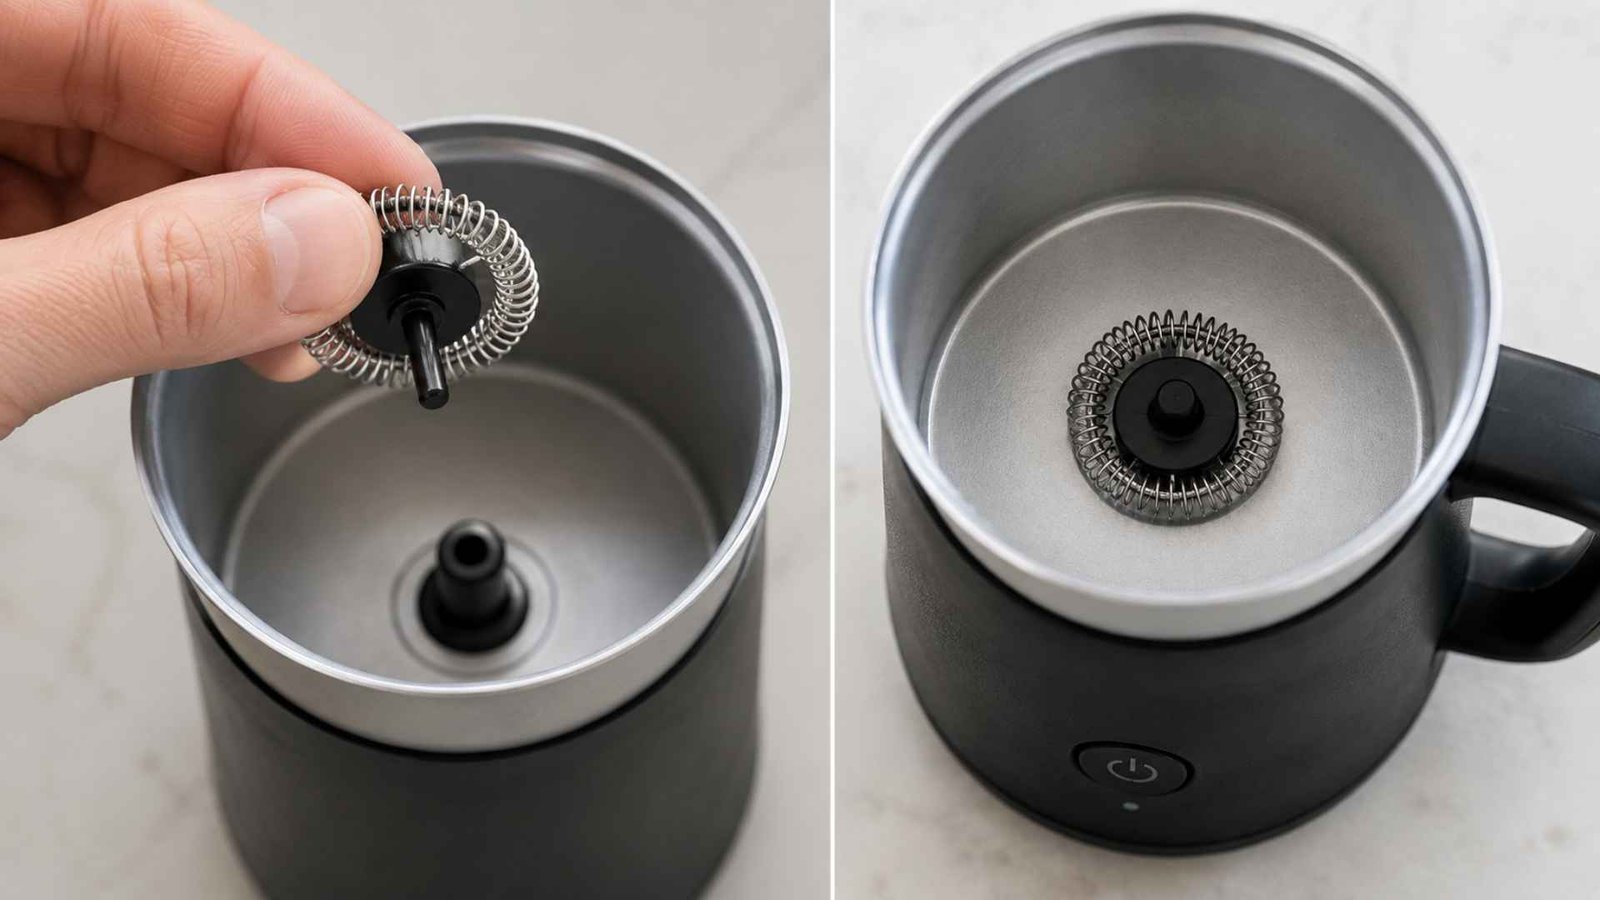
Start here, since it is the fastest check and the most common culprit. Pull the whisk out and look at how it seats onto the center post inside the jug. It should slide down snugly and sit flush against the base.
A whisk slightly off center or not fully seated will still spin, you know, but it ain’t creating the tight, consistent motion needed to whip air into the milk. Reseat it firmly before moving to anything more involved.
Give the Whisk and Jug a Thorough Cleaning
Milk leaves behind a thin film every time it is heated, and that residue builds up fast if the frother only gets a quick rinse. Whisk residue coats the metal ridges and reduces how effectively it grabs the milk, which directly weakens foam quality over repeated uses.
Wash the whisk and interior of the jug with warm soapy water after each use. Every few weeks, give it a deeper clean with a bit of vinegar to break down mineral buildup.
Try Fresh Milk at the Right Temperature
Milk temperature has a lot more to do than many of you think. Cold milk straight from the fridge, somewhere around 35 to 40 degrees Fahrenheit, doesn’t froth well because the proteins haven’t loosened up enough to trap air efficiently.
On the other end, milk heated past roughly 170 degrees Fahrenheit starts to break down those same proteins, which is why scalded milk goes flat instead of foamy. The sweet spot sits closer to 150 to 155 degrees, warm enough to loosen the proteins but well short of scalding. If your frother has a heat setting, that range is what you’re aiming for.
Check the Milk Level
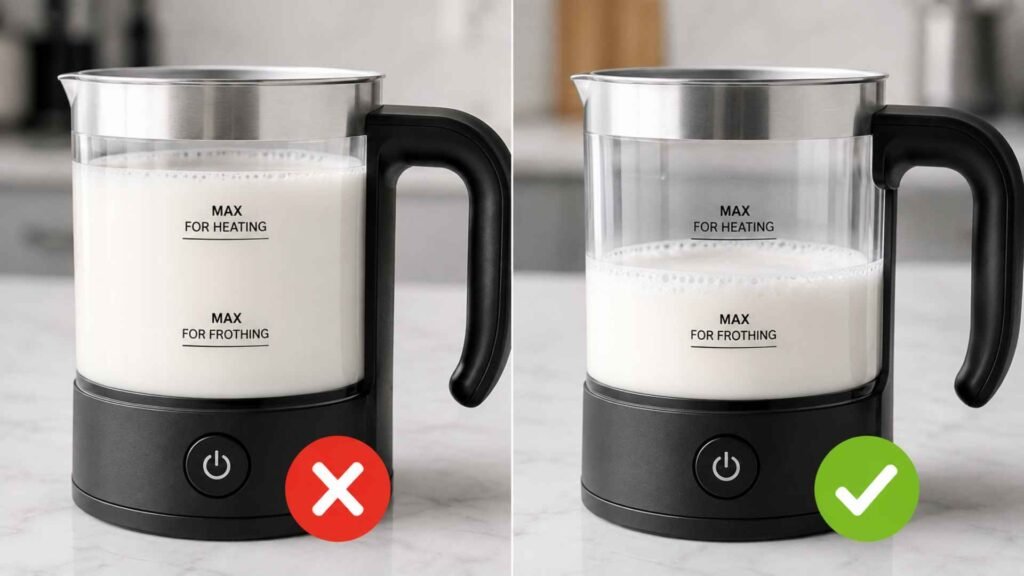
Too much milk in the jug leaves no room for the foam to expand, while too little means the whisk can’t generate enough motion to build volume.
Most frothers mark a fill line specifically for frothing that sits noticeably lower than the line for simply heating milk without foam.
Overfilling past that mark is one of the quieter reasons people end up with a milk frother not making foam despite doing everything else right.
Let an Overheated Frother Cool Down
Running a frother back to back, especially for a household making several drinks in a row, can cause the internal motor to overheat and briefly cut power to the whisk. If your frother suddenly stops working mid session, unplug it and give it ten to fifteen minutes to cool before trying again. This issue easily tricks people, because the frother still hums along normally. It simply lacks the raw spinning power required to build a proper foam structure.
Check the Frothing Setting and Attachment
Many modern frothers come with two settings or two attachments, one for foam and one for simply heating milk without air incorporation. It’s an easy mix up, especially with models that use similar looking whisks for each function. Double check you’ve got the correct attachment locked in and the frothing mode selected rather than the heat only setting.
Check for Battery Corrosion
If you’re using a handheld frother, corrosion around the battery contacts is a common and often overlooked cause of weak performance. That nasty greenish or white crust forming on the metal terminals directly chokes the power flow to the internal motor. Turns out, you’d possibly notice sluggish spinning and a completely ruined foam.
To fix this, clean the contacts with a cotton swab dipped in a bit of vinegar. Dry them fully, and reinsert fresh batteries before testing again. Handheld frother users tend to have a harder time getting a consistent froth in general, simply because the motor and whisk are smaller and more sensitive to these small issues.
What If the Milk Frother Whisk Is Spinning but There Is Still No Foam?
This is where things get more specific, and more mechanical. If the whisk spins fine, fresh milk goes in, temperature is right, and you’re still getting milk or creamer without producing foam, the issue usually has nothing to do with the milk and everything to do with the whisk itself.
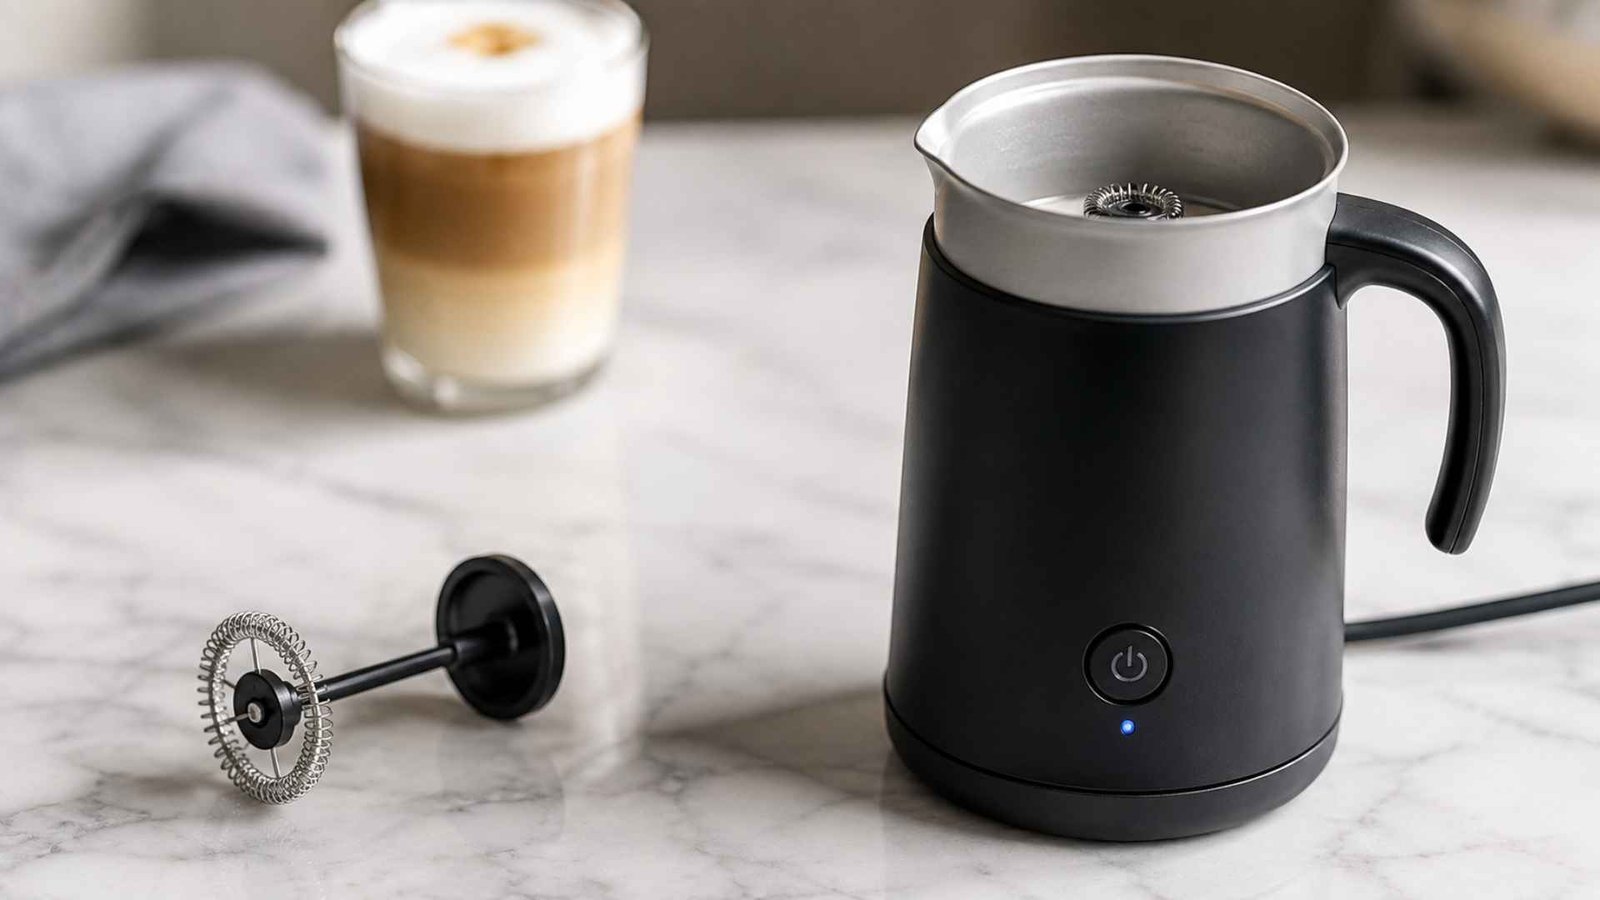
Check the pull of your magnetic whisk, the plastic black gear type wheel that sits over the center metal post inside the frothing cup. After enough time and use, the initial strong magnetic pull that wheel relies on weakens, and a weak pull means weak agitation, even if the whisk is technically spinning the entire time.
Another Good Read: QJA Espresso Machine Review 2026
When Should You Stop Troubleshooting and Replace the Frother?
- You’ve cleaned the whisk and jug thoroughly, tried fresh milk at the correct temperature, and it still didn’t fix it.
- The whisk visibly wobbles or doesn’t sit flush no matter how many times you reseat it.
- Turning off the machine for ten minutes and letting it rest made no real difference.
- The magnetic pull on the whisk feels noticeably weaker compared to when the frother was new.
- Battery contacts show corrosion that doesn’t clear up after cleaning.
- The unit is several years old and has seen daily use, since motors and magnets both degrade with time regardless of upkeep.
Frequently Asked Questions (FAQs)
Which milk works best for frothing?
Whole dairy milk produces the richest, most stable foam because of their fat and protein content, though results can genuinely vary carton to carton. Something about how dairy products shift slightly across seasons changes how well a given batch froths, which is why one carton overflows the cup with foam and the very next one comes out nearly flat, with nothing wrong on the frother’s end at all.
Why does my milk frother heat milk but not froth it?
You probably chose the wrong attachment or setting, you know, because many brands keep heating and frothing as completely separate functions.
Why is my milk frother whisk not spinning?
Make sure it sits snugly on the center post, then check for battery corrosion if it is a handheld model. It ain’t spinning if the connections are dirty.
Wrapping Up…
A quiet, foamless frother usually isn’t broken beyond repair, it just needs a bit of detective work. Start simple with the whisk seating and a proper cleaning, move through milk temperature and fill level, and don’t overlook the magnetic pull if everything else checks out fine.
Most of the time, learning how to fix a milk frother comes down to patience rather than any real technical skill, and a few minutes of troubleshooting usually gets your foam back before your coffee goes cold.